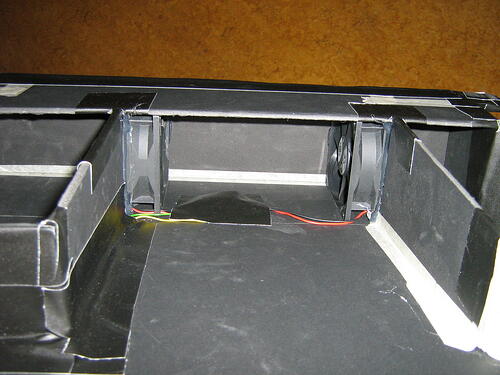
2 fans in one of the air tunnel hoods, that will be placed close to the beamer.
After finding out that a spot on the metal beamer lifting mechanism got extremely hot, we decided to make a hole into the air tunnel and adjust one of the fans, to reduice the heat.
Patrick bought a 4 ports usb hub, which is placed below the power supply. Since we didn't want the usb hub to use the big huge bulky adapter, we connected it to the power supply. So we had to open up the usb hub.
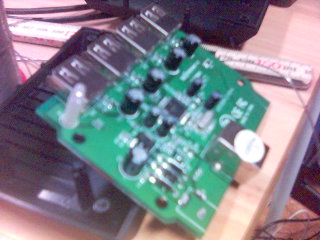
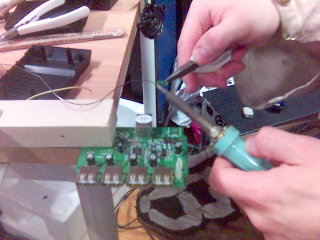
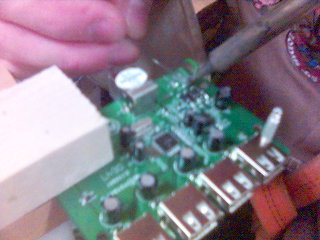
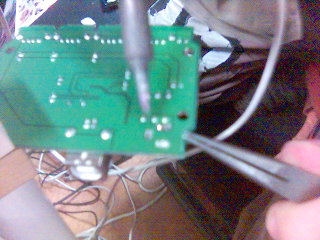
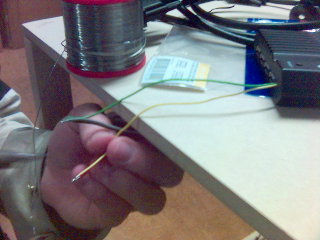
After wiring the usb hub to the power supply we hotglued it underneath it.

Now we can connect the camera to the usb hub from the inside and we could easily add a usb soundcard or so.
We had to make a plate on the back of the box, to be able to acces the input of the box.
We sawed out a piece of piece of wood and sanded it with a nice round curve.
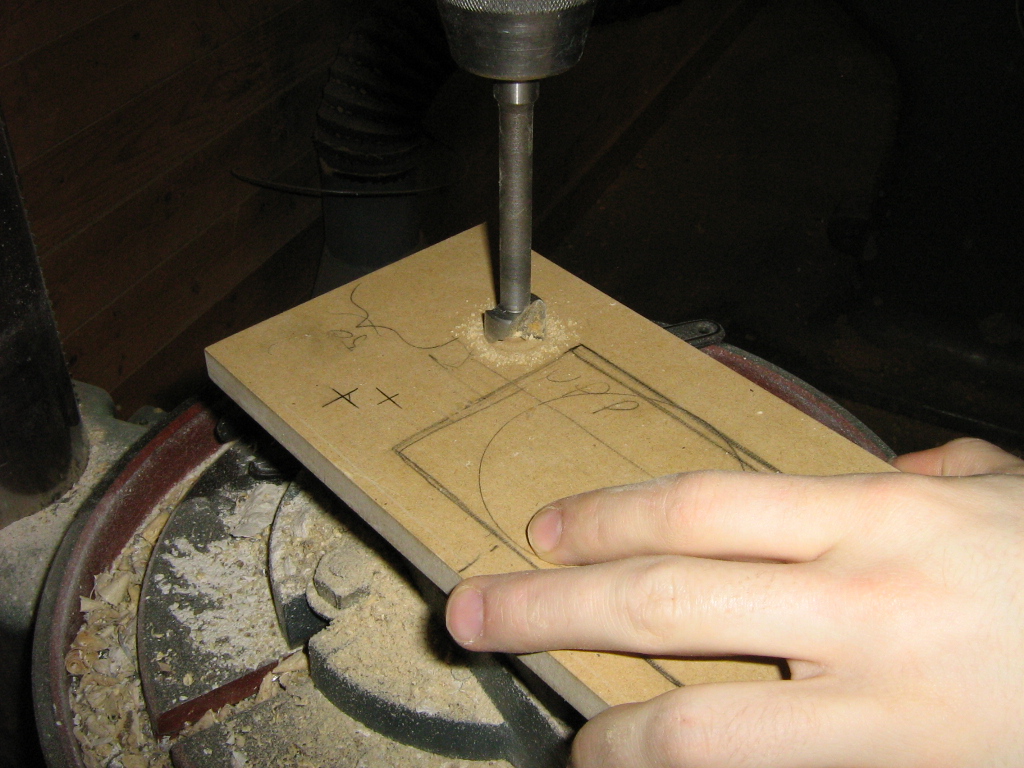
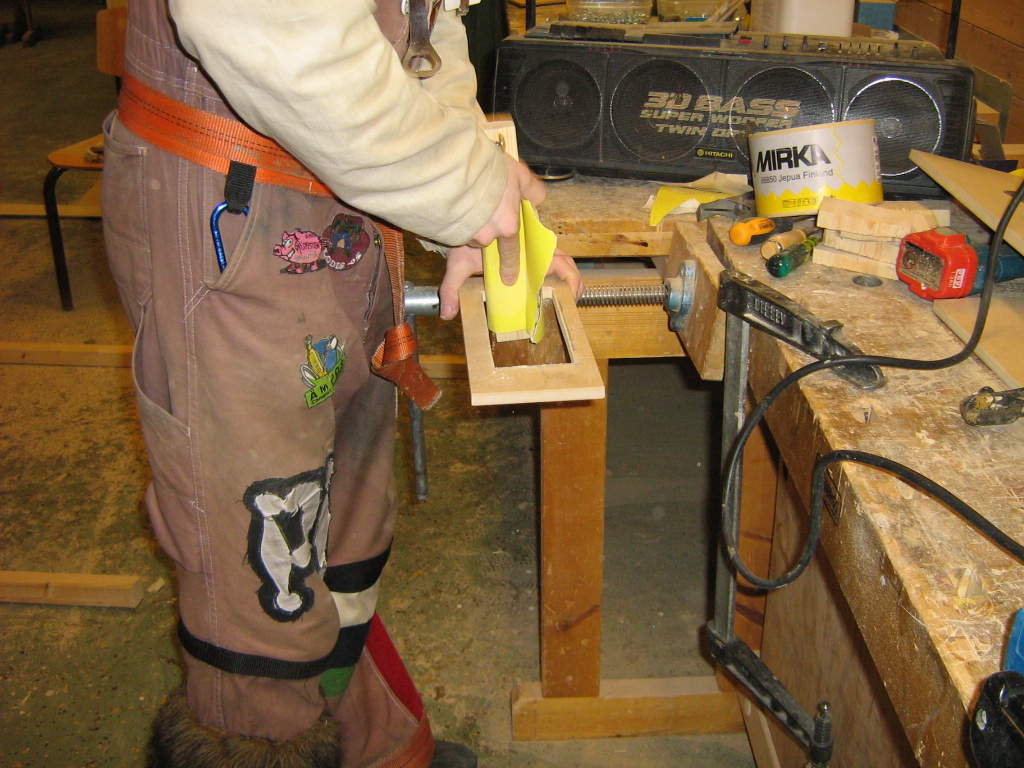
We had to make a plate on the back of the box, to be able to acces the input of the box.
We sawed out a piece of piece of wood and sanded it with a nice round curve.
We glued the wooden plate on the back of the box.
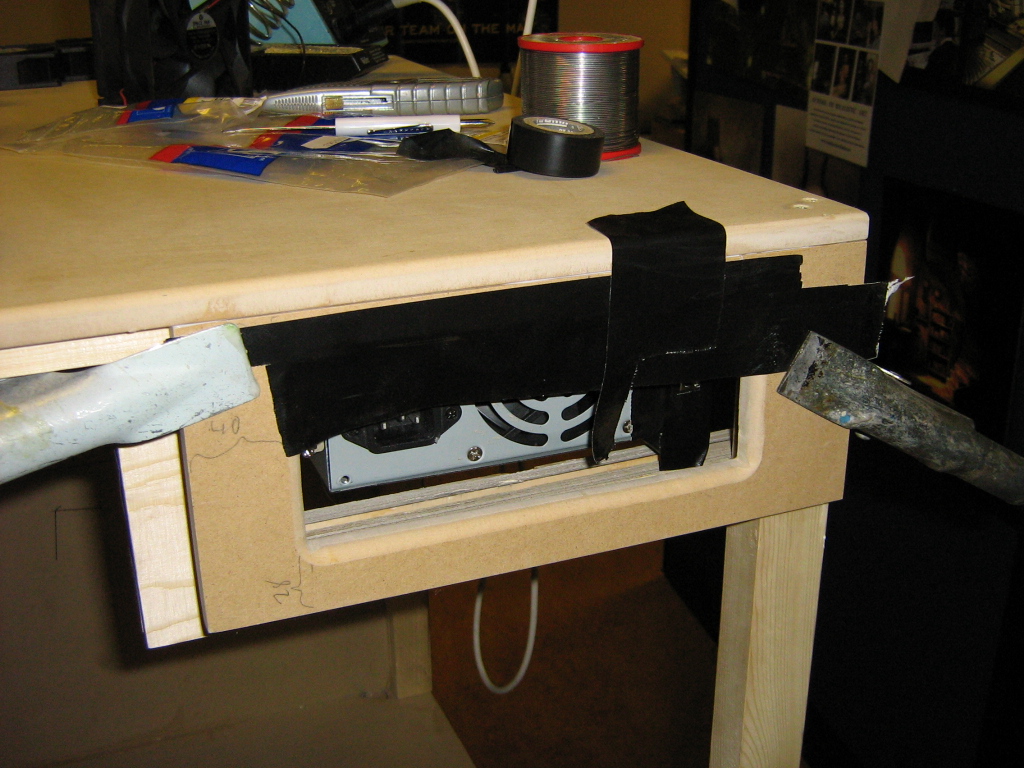
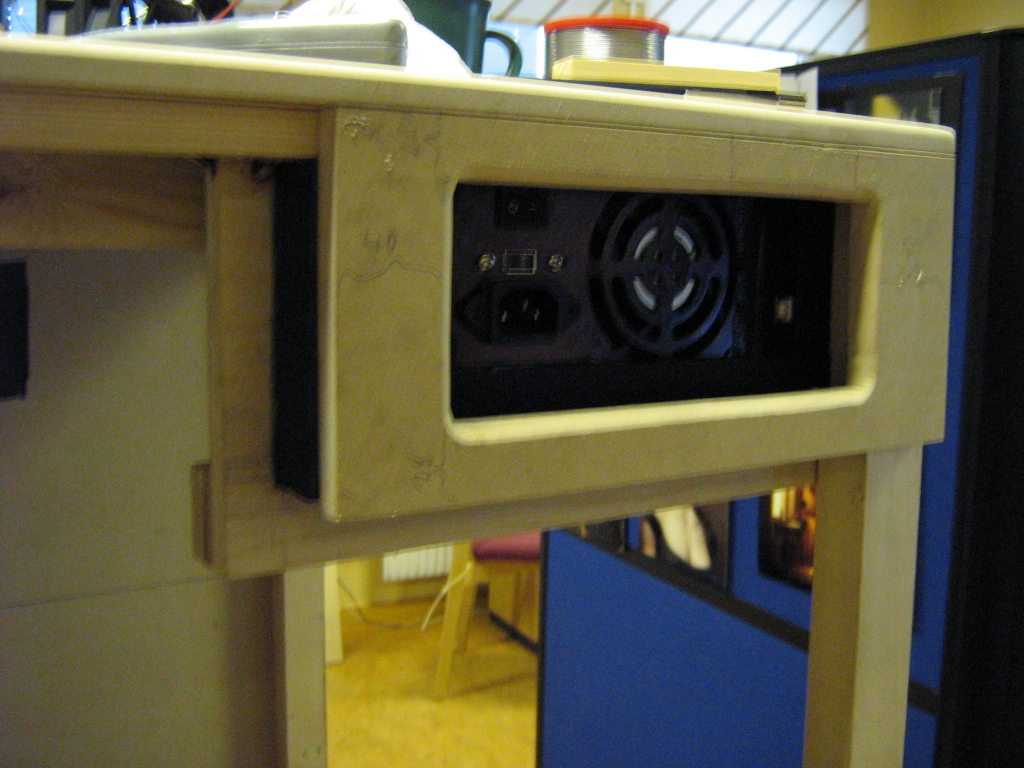
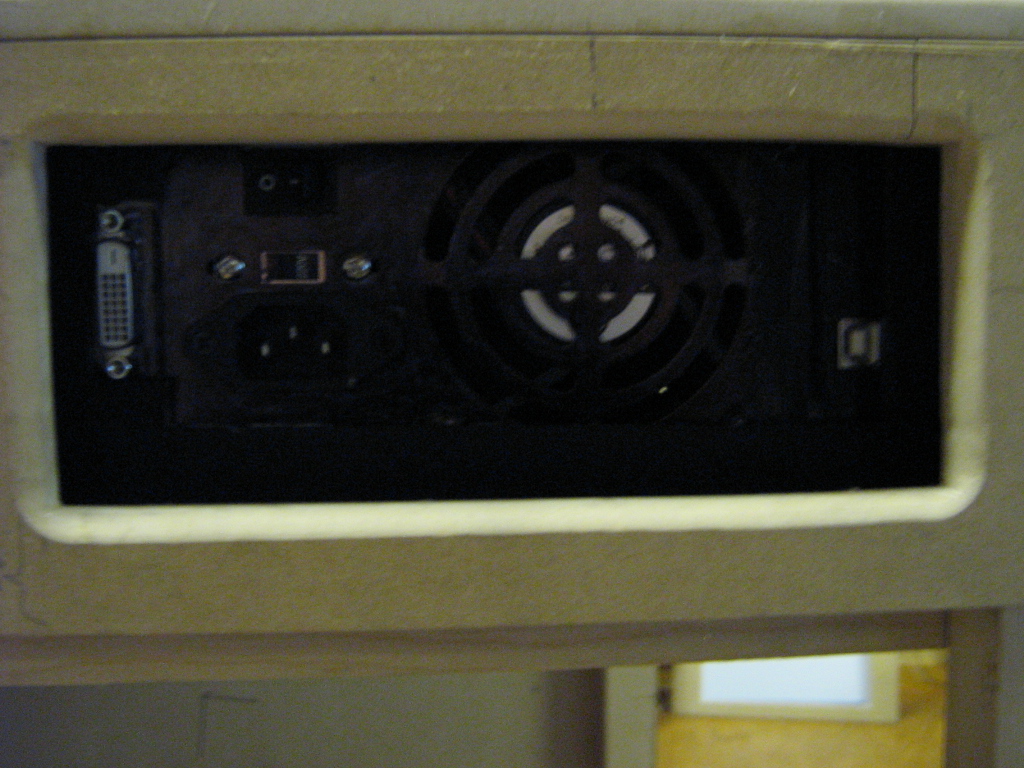
We filled the holes around the power supply with black cardboard and sticked them with glue.
We also attached a plug for connecting the beamer.
Afterwards the holes of the screws were filled, to prevent distracting edges after the paintjob.
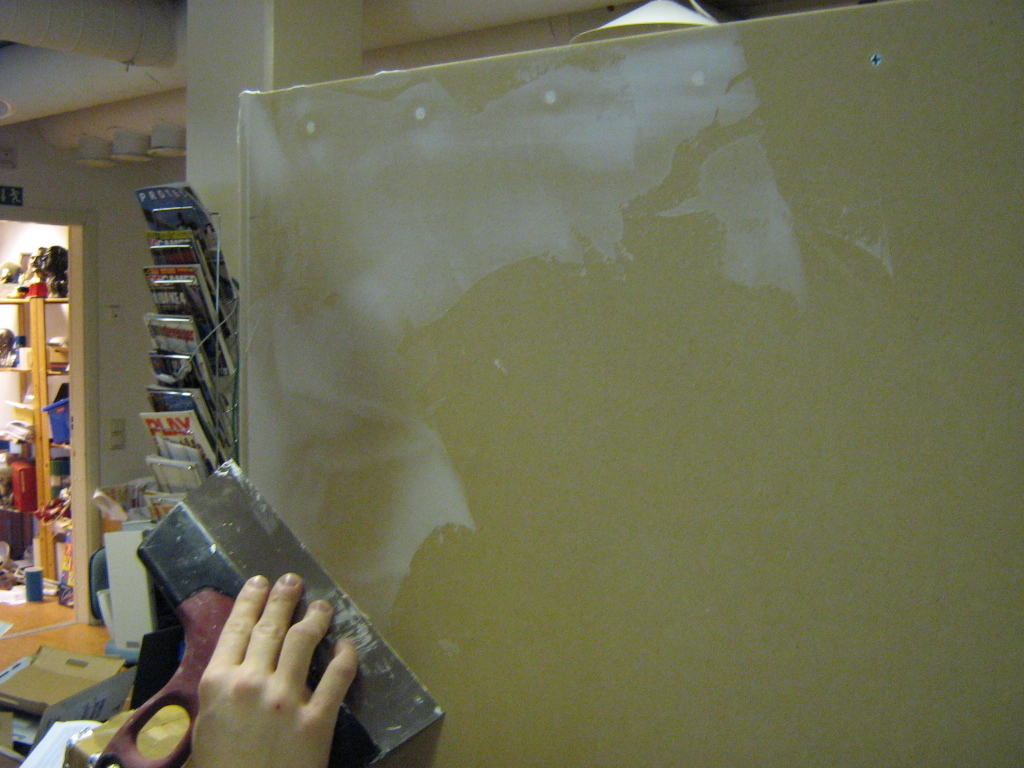
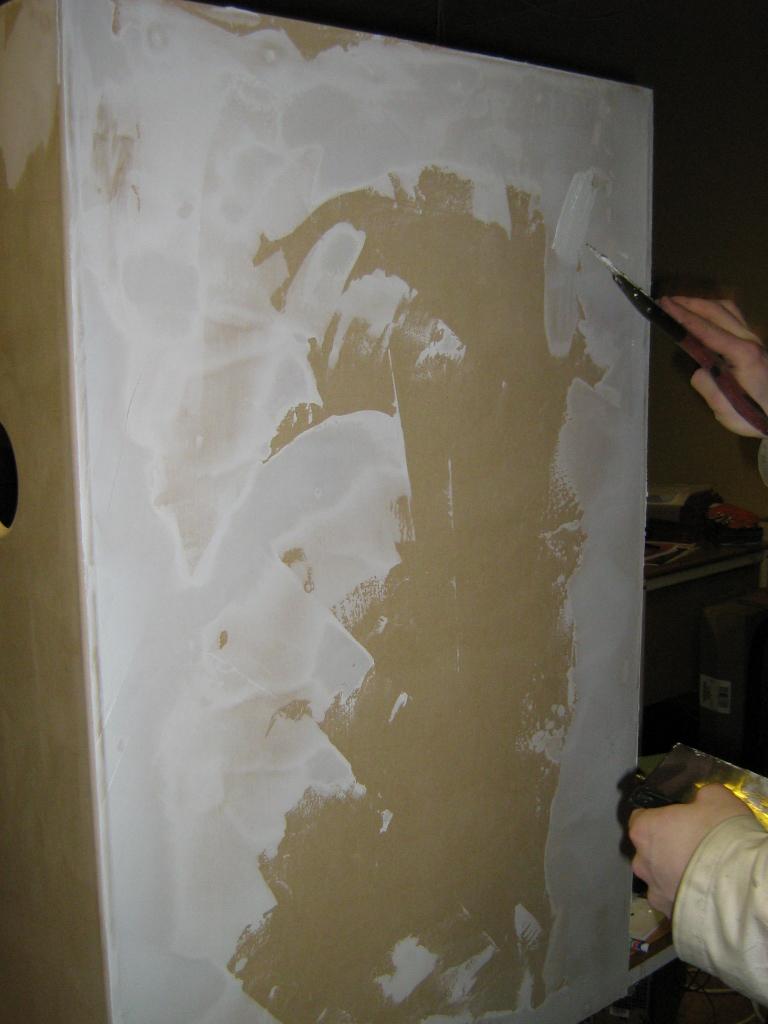
Then we removed as many deattachable objects from the box as possible.
Peter applied tape to the entire box and painted the box black on the inside and gave the box a base layer of paint on the outside. Afterwards he sanded the outer side of the box and applied another layer of paint. Monday we'll be able to apply a paint decoration.

 3-in-1 Mic

