Update before getting started:
Some time ago I wrote about how to change the lens from this Philips SPC900NC webcam to make it work with the DIY FTIR multi-touch project (story below). I disassembled the entire webcam back then, which seems to be unnecessary. You can easily rotate the round grey thing (with all the small lines carved in it) in front of the lens untill it’s impossible to rotate it any further. At that point you can use a sharp knife, to pop it off. Then you can unscrew the lens and put the new lens in place.
The explanation below describes the entire assembly process, which is not necessary.
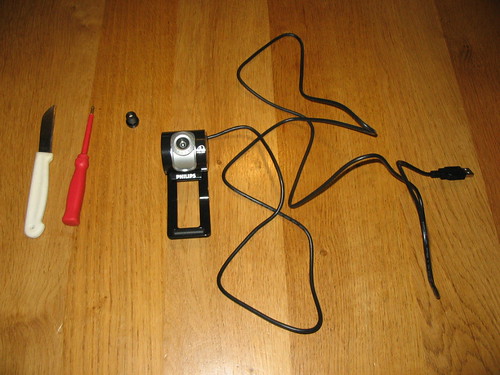
We place IR leds along the 2 sides of the acrylic. This way the IR light beams into the acrylic and bounces up and down inside the acrylic by Frustrated Total Internal Reflection. When you touch the acrylic with your hand, the light gets scattered and your fingers light up in IR. That's why we need a camera that detects IR light. How do we do that?
Every camera/webcam has an IR block filter inside the camera that blocks IR light. So basically what you need to do is, remove the IR block filter and prevent all other visible light from entering.
During the build of my first proto I used a cheap Sweex WC001 webcam. But because of the fact that camera had quite some noise and that we calculated a more expansive one into our budget, we bought a Philips SPC900NC.
With most cameras its pretty hard or even impossible to remove the IR filter from the lens without damaging the lens. Because in some cases the filter is glued to the lens. With my Sweex, I managed to remove it without damaging it. But due to experiences of other people with the Philips, I knew I had to buy a special lens.
Therefor I bought a special lens on ebay, that letss through all visible light as well as IR. So I had to break open the casing of the cam and assemble the new lens.
First you lift the silver shield off with a knive (do that on both sides)
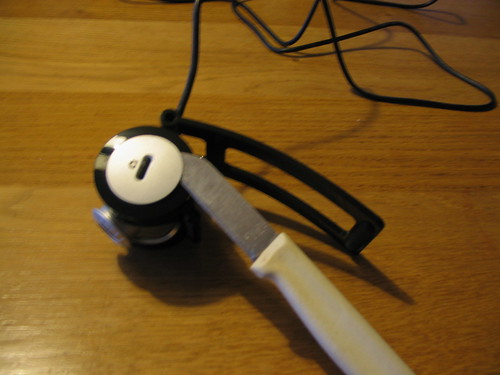
Under the removed silver shield you find two notches. Push them down a bit with a small screwdriver to pop the case open. Do the same with the other side.
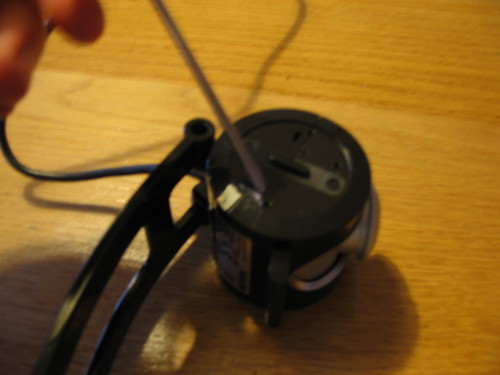
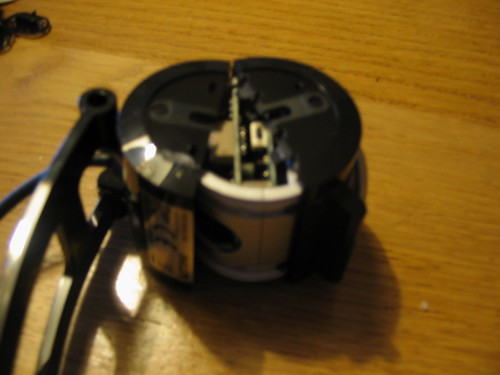
Pop off the ring around the lens with a knife.
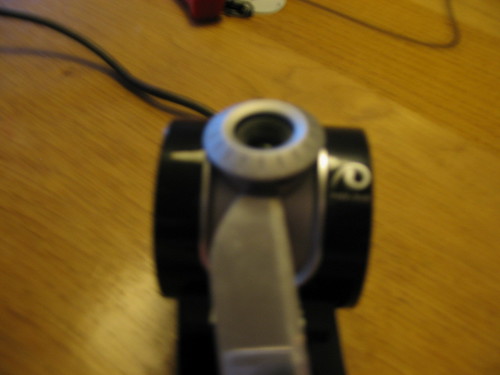
Disassemble, unscrew the lens and screw the new one on it.
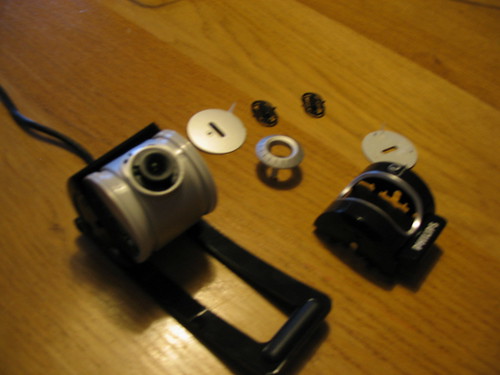
Now that your camera lets through all visible light including IR, all you got to do is block the visible light, so that the camera will only detect the IR.
There are a few different ways you can do this.
You can use the front deep dark red/black on remote controls. Or you could get a special IR pass filter, that passes through only IR light or a IR bandpass filter, which is more expansive. This filter only lets through light on a specific wavelength. Because the leds I will be using are wavelength 880 nm (nanometer), I could get a IR bandpass filter of 880nm. But since these filters are pretty expensive, around 80 euro's or so, I decided to go with the cheapest most suitable solution.
I used photo negatives. You know, those black pieces that you find around the photo negatives of your holiday pictures or so. They are entirely black. Well, I taped about 6 or 7 layers in front of the lens. 3 might work as well, but I just wanted to make sure most visible light was blocked.
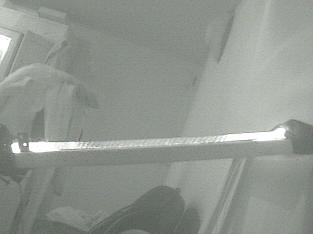
Here's a picture of the sideview of IR light being beamed inside the acrylic.
Special notes:
It is recommended to use a camera with a high frame rate (30fps or higher) and little low light noise.
Try to find a 4.3 MM CCTV lens.
In general cameras with CCD sensors should perform better than those with a CMOS chip.
Firewire has some benefits over normal USB webcams:
higher framerate, capture size, higher bandwidth, lesss overhead for the driver (due to less compression)
Possible Cameras
Low End Webcams:
Sweex WC001 Low framerate & resolution, manages but only for playing interactions.
High End Webcams:
Philips SPC900NC (alot of people inside our community use this one)
Professional/Industrial Cameras:
The Imaging Source (untested)
Unibrain Fire-i Industrial Cameras (untested)

 3-in-1 Mic

