So during the build of the first proto I found out that I wanted some kind of reflective material against the edges to bounce back leaking IR light. With my first proto I used aluminum tape, but it intends to stick to everything ;) So basically alot of annoyance.
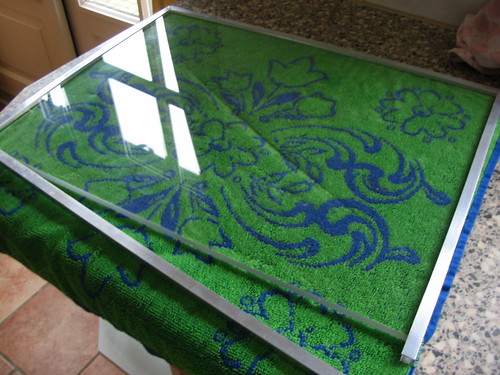
So I decided to make an aluminum frame around the acrylic, which can also hold the leds at the same time. It makes your screen look alot better than with shabby tape hanging around.
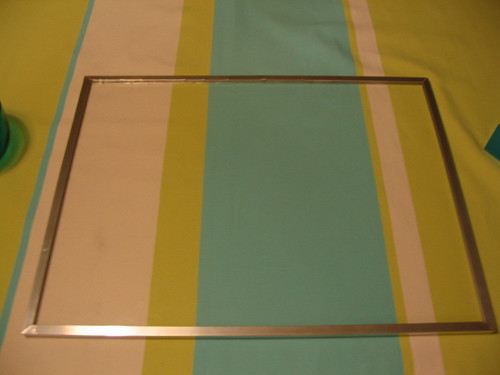
I used 4 pieces of aluminum rail. 2*50 cm and 2*38 cm both 10 mm (acrylic= 36 * 48 cm, 8mm thick) So the acrylic would fit inside the aluminum rail perfectly, it seemed at first ;) Lateron I found out that the rail on one side was a little hard to get around the acrylic, so I used brute force with a hammer ;)
I sawed off the edges of the aluminum with a 45 degree angle, so they would perfectly fit against eachother.
Afterwards I drilled 5mm holes in the 2 rails that will hold the leds. 10 holes on each rail. I choose 5mm holes so the leds would get stuck pretty good, since the leds themselves are also 5mm.
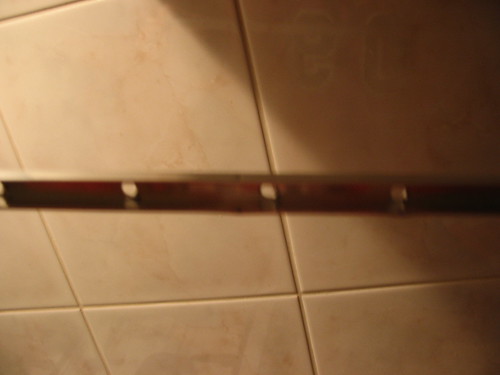
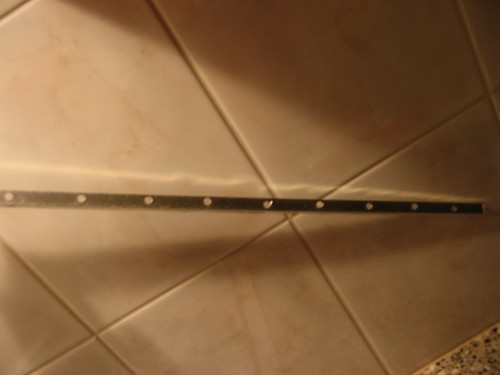
Then I placed the leds in the holes to see if I had the wished for result.
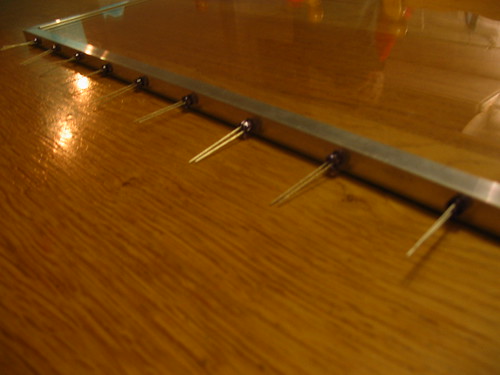
Because of the space inside the aluminum, there's just enough room to hold the head of the led.
Dosage is btw the coolest guy in #ftir.


 Sho stick
